How to Fix a Leaky Faucet: A Step-by-Step Guide
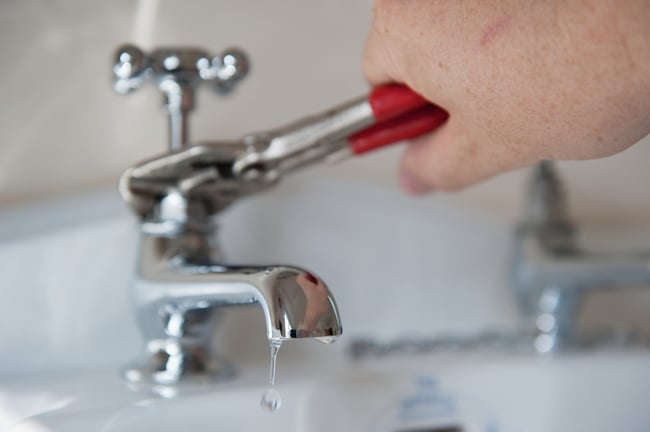
A leaky faucet is one of the most common household plumbing problems. Not only is the constant dripping sound annoying, but it can also waste gallons of water over time—leading to higher utility bills and potential water damage. The good news? You don’t need to be a plumbing expert to fix a leaky faucet. With a few basic tools and a little patience, you can tackle this DIY project in under an hour.
In this guide, we’ll walk you through how to fix a leaky faucet, whether you have a compression, cartridge, ceramic disk, or ball-type faucet. Let’s roll up our sleeves and get started!
Step 1: Identify the Type of Faucet
Before you can repair your faucet, it’s important to know what type you’re working with. Faucets generally fall into four categories:
 Compression Faucet: Uses rubber washers that wear out over time. Often found in older homes.
Cartridge Faucet: Has a cartridge that controls water flow; easy to repair.
Ceramic Disk Faucet: Uses a cylinder with holes; highly durable but more expensive to fix.
Ball Faucet: Common in kitchens, with a ball bearing mechanism.
Knowing your faucet type helps you buy the right replacement parts and follow the correct steps.
Step 2: Gather Your Tools
You don’t need a full plumbing toolkit, but here are the essentials:
Adjustable wrench
Flathead and Phillips screwdrivers
Replacement parts (washers, O-rings, or cartridges depending on faucet type)
Penetrating oil (like WD-40)
Plumber’s grease or silicone-based grease
Rag or towel
Bowl or container (to catch small parts)
Step 3: Turn Off the Water Supply
Locate the water shutoff valves under the sink and turn them clockwise to stop the water flow. Open the faucet to release any remaining water and pressure from the lines. It’s also a good idea to plug the drain with a sink stopper or cloth to avoid losing small parts.
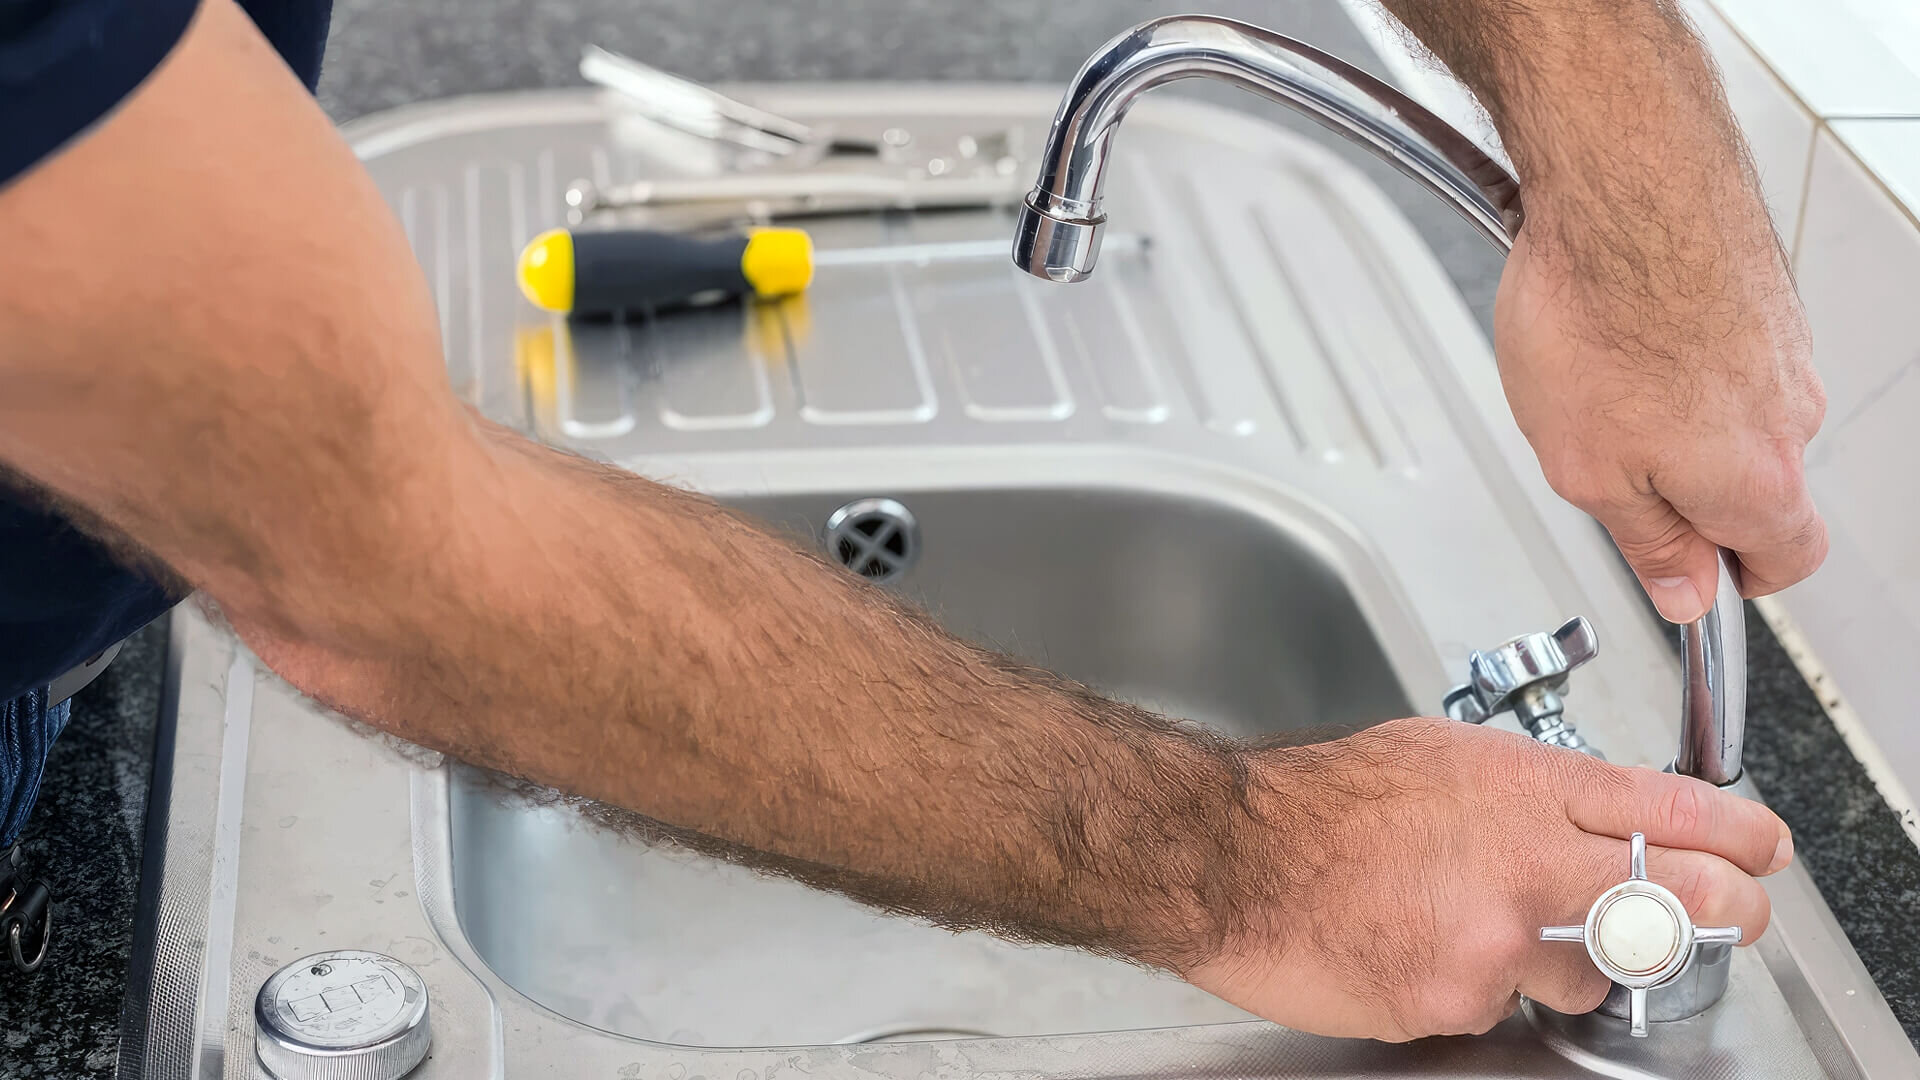
Step 4: Disassemble the Faucet
Carefully remove the faucet handle using a screwdriver. You might need to pry off a decorative cap first. Once the handle is off, use your wrench to remove the packing nut, then pull out the stem or cartridge.
For ball-type or ceramic disk faucets, follow the manufacturer’s instructions. Be sure to take note of how everything fits together or take a picture for reference.
Step 5: Inspect the Parts
Now comes the detective work. Look closely at the rubber washers, O-rings, or cartridge:
Worn Washer: If the washer looks cracked, hardened, or misshapen, it’s time to replace it.
Damaged O-ring: These create a seal and are common culprits for leaks around the handle.
Faulty Cartridge or Ball Assembly: If you notice mineral deposits or corrosion, a full replacement may be necessary.
Take the worn parts to a hardware store to find exact matches—faucet parts are not one-size-fits-all.
Step 6: Replace and Reassemble
Apply a small amount of plumber’s grease to the new parts to ensure smooth installation and prevent future wear. Replace the washers, O-rings, or cartridge as needed, making sure everything is seated properly.
Then, reassemble the faucet in the reverse order you took it apart. Tighten all components gently—don’t overtighten, as this can strip threads or crack the housing.
Step 7: Turn On the Water and Test
Slowly turn the shutoff valves back on and test your faucet. Check for drips or leaks. If water still leaks, you may need to disassemble and ensure parts are correctly seated or revisit the type of part you replaced.
Extra Tips for Successful Plumbing Repairs
Know When to Call a Plumber: If your faucet is still leaking after replacement or if you notice water pooling under the sink, the issue might be deeper in your plumbing system.
Use Quality Parts: Cheap replacements can wear out quickly. Always choose high-quality washers, cartridges, or seals.
Stay Organized: Lay parts out in the order you removed them to avoid confusion during reassembly.
Be Patient: Plumbing repairs take some finesse. Rushing can lead to overtightening or incorrect installation.
Why It Matters
Fixing a leaky faucet isn’t just about saving money—it’s about conserving resources and protecting your home. According to the EPA, household leaks waste nearly 1 trillion gallons of water annually in the U.S. alone. Taking care of minor plumbing issues promptly is a small act with a big impact.
Learning how to fix a leaky faucet is an empowering skill that saves time, money, and water. With a little knowledge and the right tools, you can handle this common plumbing issue on your own. The next time you hear that steady drip, you’ll know exactly what to do.